7 Home Office Lighting Ideas I Wish I'd Tried in Year One
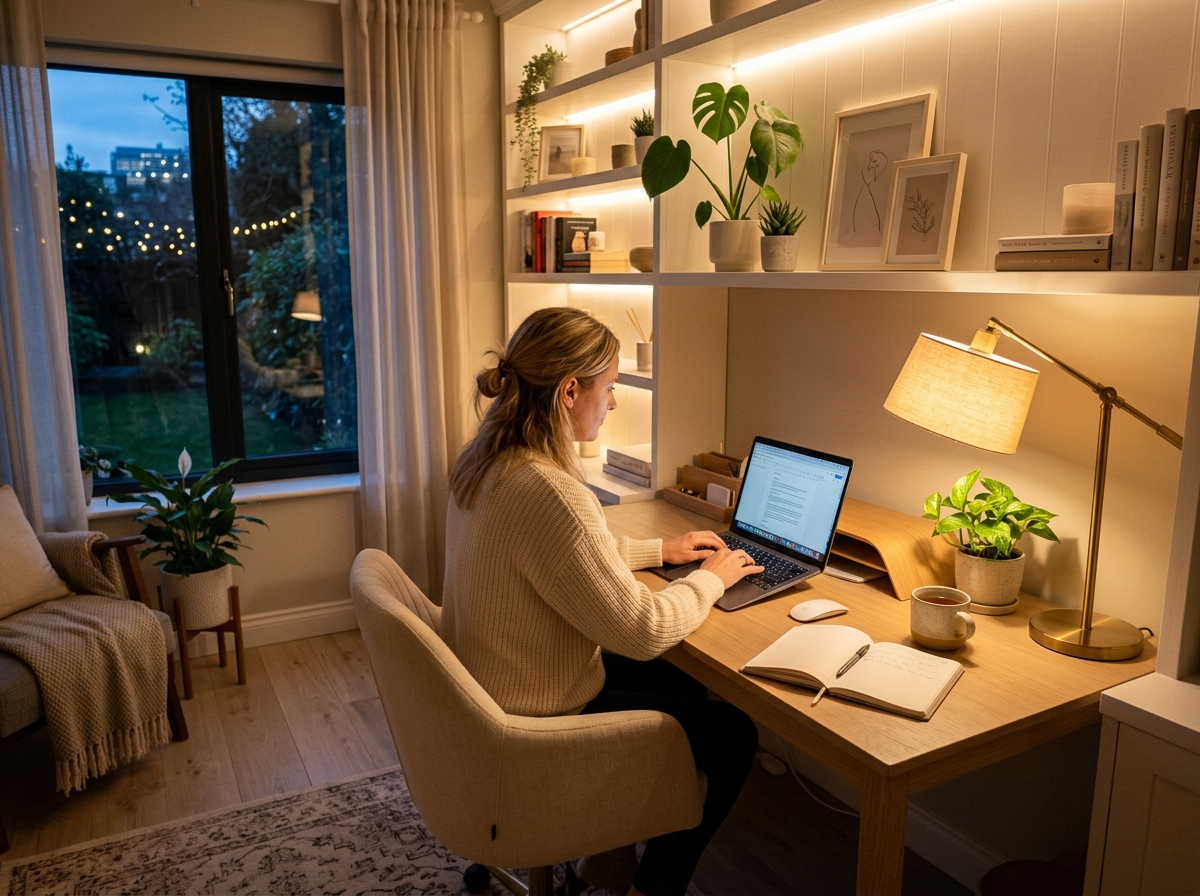
Our home office faces north, just outside Columbus, and for our first year here it felt like working in a cave. By 4 p.m. on a January Tuesday, I’d be squinting at my laptop while the gray Ohio light gave up entirely. Ryan would Zoom from the desk and complain his face looked gray on camera. We had one builder-grade flush mount, beige walls, and a sad ceramic lamp I’d had since college.
It took about eighteen months of trial and error to figure out what actually worked. A few fixes cost under $30. One was a $140 mistake I should’ve returned. If your home office is a dim spare bedroom that drains your energy by lunch, here are the seven changes that made the real difference for us.
1. Replace the Builder-Grade Flush Mount First
The single biggest change was swapping out the cheap dome fixture that came with our 2003 build. You know the one: shallow frosted glass, two 60-watt bulbs, light pointed straight down so the corners stayed dim. We replaced it with a wider four-light semi-flush in brushed nickel from Home Depot for around $115.
The light spread is so much better with four bulbs angled outward instead of two facing down. Our office is roughly 10 by 11 feet, and the old fixture left the bookshelf wall in shadow. The new one reaches every corner.
If $115 feels steep, Lowe’s has flush mounts in the $40–60 range that look almost identical. Check the bulb count and the diameter before you click buy. I’d aim for at least 14 inches across in a small office, and never go below three bulbs if you want even light.

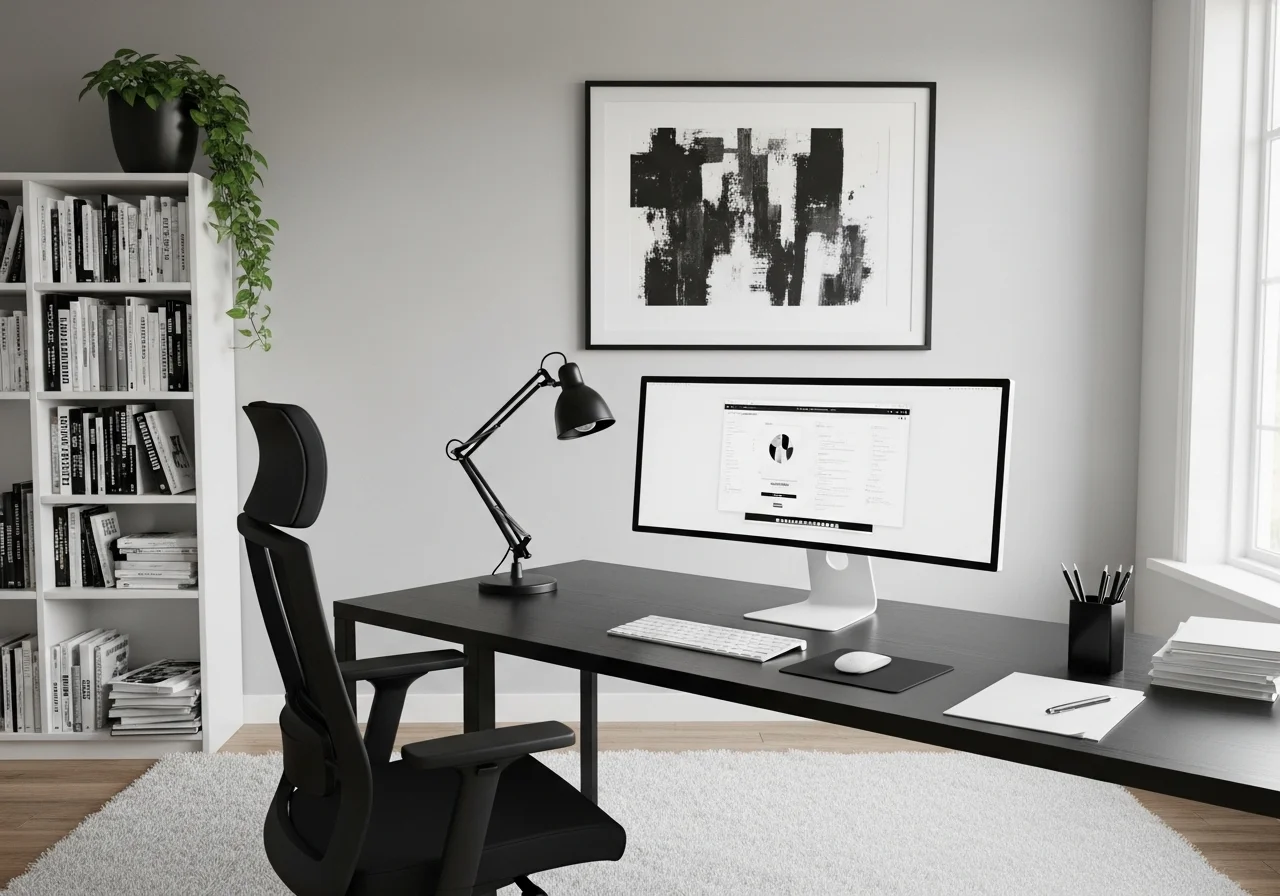
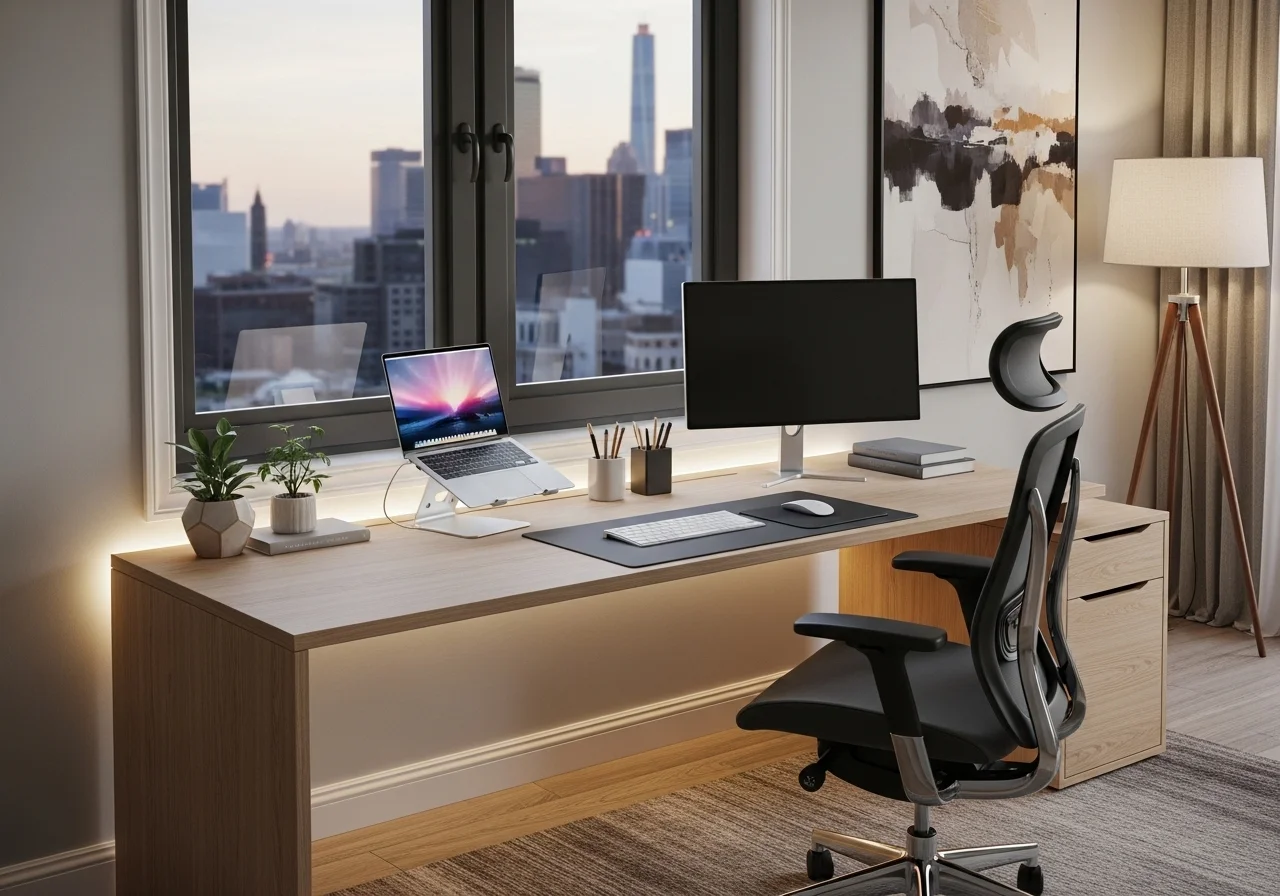
2. Get a Real Desk Lamp, Not a Pretty Decorative One
For two years, I had a ceramic gourd lamp on the desk that I’d grabbed at HomeGoods for $35. Looked great in photos. Useless for actual work. The shade was too short, the bulb was too warm, and it cast a glare directly onto my laptop screen.
What works better: a proper task lamp with an adjustable arm. Mine is the basic Ikea one most people recognize, $19.99. Ryan’s is a little nicer with a built-in dimmer, around $65 from Wayfair. The light needs to come from the side and slightly behind the screen, not from in front of it. Otherwise, you fight glare all day.
For a budget version, Target’s Threshold line has clamp-on architect-style lamps for about $32 that work just as well as my Ikea one.
3. Add a Floor Lamp in the Corner for Ambient Light
A second light source besides the overhead changes the whole feel of a room. We added a tall arc-style floor lamp behind Ryan’s chair that bounces light off the ceiling. Got it on sale at World Market for $89. The corner used to look like a black hole on his Zoom calls. Now it reads as a normal lived-in space behind him.
The trick is putting the floor lamp where it lights up something specific: a bookshelf, a piece of art, or just a blank wall behind the desk. That’s what gives a room depth instead of the flat overhead-only look.
What I Learned About Bulb Temperature the Hard Way
Buying bulbs without checking the Kelvin number was my biggest early mistake.I grabbed a pack of six bulbs at Lowes that turned out to be 5000 K which is daylight blue. Our office looked like a dental exam room for a full week before I figured out what was wrong.
For a home office, 3000 K to 4000 K is the sweet spot. Warm enough to feel like home, cool enough to keep you alert through a long work session. I’ve stuck with 3500 K Cree LED bulbs from Home Depot, around $14 for a four-pack.
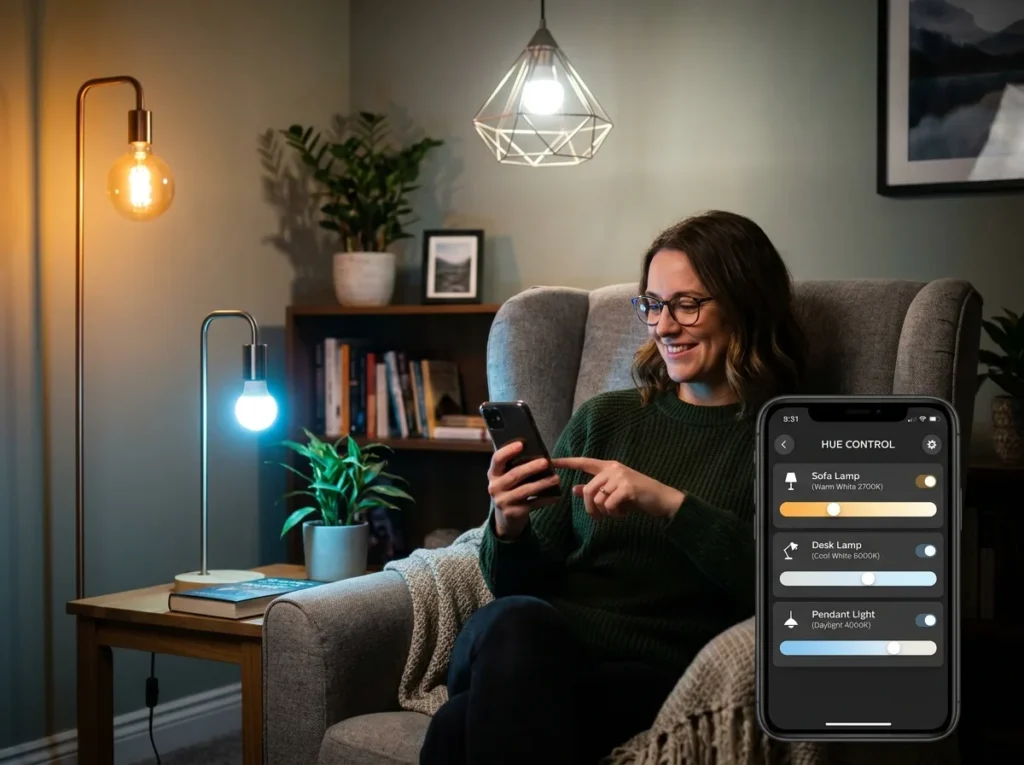
4. Try Smart Bulbs With Adjustable Color Temperature
This was the upgrade that surprised me most. We swapped two regular LEDs for Philips Hue White Ambiance bulbs, about $30 each, and now the office shifts from a cooler 4000 K in the morning to a warmer 2700 K by late afternoon. Ryan set it on a schedule through the app once and forgot about it.
Why does it matter? In the middle of an Ohio February, when the sun is basically a rumor, having brighter, cooler light in the morning genuinely helps with focus. By 5 p.m., the warmer setting tells your brain the workday is winding down.
Wyze and Govee make budget alternatives in the $12–18 range per bulb that work fine if you don’t need the full Philips ecosystem. I’ve had Wyze bulbs in our daughter’s room for two years with no issues.
5. Add Bias Lighting Behind the Monitor
Small change, real difference on long days. A bias light is just a thin LED strip stuck to the back of your monitor that casts a soft glow on the wall. It cuts the contrast between a bright screen and a dark wall, which is what tires your eyes by hour four.
I picked up a USB-powered LED strip on Amazon for $14. Ten minutes to install. The adhesive backing held fine on the back of Ryan’s monitor for about six months until our cats, Pepper and Olive, jumped up there during a Zoom call and knocked half of it loose. Some Gorilla tape fixed it. The cats are no longer allowed in the office during meetings.
6. Install a Dimmer Switch (Easier Than I Expected)
Replacing the standard wall switch with a dimmer was my one DIY for this room, and I genuinely thought Id mess it up. I watched two YouTube videos, flipped the breaker, double-checked with a voltage tester from Home Depot ($12), and swapped in a Lutron Caseta dimmer for $25.
The whole thing took maybe twenty minutes, including the part where I dropped a screw behind the desk and spent five minutes fishing it out with a flashlight. If youre not comfortable with electrical work at all, please dont wing it. Hire a licensed electrician for anything beyond a basic switch swap. Mistakes here can start fires or cause shocks.
The payoff: we can knock the overhead down to 30% in the late afternoon when the sun finally hits the west side of the house. Soft light, no harsh contrast. A basic non-smart dimmer from Lowes runs about $12 if you dont need scheduling.
7. Dont Forget the Windows
Lighting isnt only about fixtures. The blinds the previous owners left up were heavy faux-wood ones that blocked half the available daylight even when fully open. We swapped them for white cellular shades from Home Depot in a top-down/bottom-up style, around $58 per window. We can pull the top down for natural light while keeping the bottom closed for privacy from the neighbors.
If you want something really cheap, Ikea sells basic white roller blinds for $20 that do the job. Not as fancy, but they let way more light through than thick wood blinds. On a south-facing window, youll want light-filtering fabric. Otherwise, the glare on a screen at 2 p.m. is unbearable.
What Id Do Differently
The $140 mistake I mentioned at the top was a brass pendant I bought during a Wayfair sale, convinced it would be the focal point of the room. The scale was completely wrong, the chain was too long for our 8-foot ceilings, and it hung directly in Ryans eyeline at the desk. By the time I admitted defeat, the return window had closed. Its been sitting in our basement for fourteen months, judging me.
The other lesson: I waited way too long to layer the lighting. For at least a year, I kept buying brighter overhead bulbs, thinking that would solve everything. It didnt. One brighter bulb in one fixture just means one harsher source of light. Three softer sources at different heights is what actually makes a small office feel functional and warm.
Making Home Office Lighting Actually Work for You
Good office lighting doesnt need to be expensive or complicated, but it does need to be layered. Start with the overhead, add a real task lamp, throw in a floor lamp for ambient warmth, and pay attention to bulb temperature. Thats the order I wish Id tackled it in. If youve got a dim spare bedroom or a basement office that drains your energy by lunchtime, try one upgrade this weekend and see how it feels. Id love to hear whats worked in your space, especially if you’ve found a smart bulb setup thats been reliable longer than mine.

Aria
Passionate writer sharing home decor, lifestyle, and modern living inspiration.
Related Articles
Explore more topics in this category